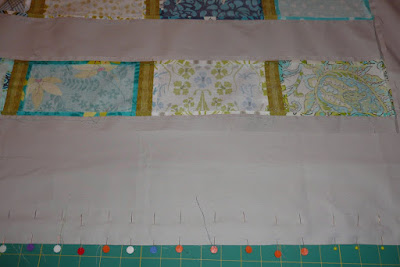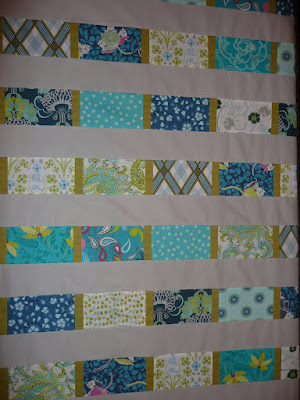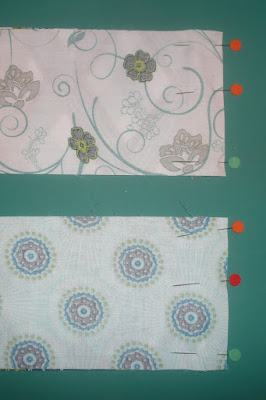
I'm sewing! With my machine! Wonder of wonders!
So last night I got my machine out and onto the table. I sat down and read the manual. I was too tired last night to launch into it and thought best to wait until morning when my brain and cognitive skills are a little fresher.
So this morning I get a bobbin wound. Easy. Threading the machine is easy, too. Installing the bobbin seems easy enough. The methodology is also coming back to my physical memory a little bit, too. I grew up with a Mom who sewed everything, after all. I had a little trouble getting the bobbin thread to come to the surface but after a few tries, it came up. I grabbed a couple of butt ugly fabric pieces (okay, there are no ugly fabric pieces, just unimaginative sewists), cut them into precisely cut strips and started sewing. Not so fast, pardner. Within a few inches my machine came to an abrupt stop (good thing I wasn't really going very fast) and I found a tangled ball of thread on the underside. Natch! To untangle the mess I had to remove the bobbin case and then I appeared to be screwed. I couldn't seem to get it fitted back into place properly or if I was doing it right, I couldn't really tell. Much frustration. Good thing I didn't attempt this last night.
So, off to
Sew and Home where I had just had my machine serviced. By the way, I have used this machine before without any such problem, so it can't be JUST me. Can it? Fortunately, Eric, the sewing machine maintenance guy was there and he and Lynn were MOST helpful. It turns out that I was using the wrong kind of Singer bobbin. I needed a plastic one instead of a metal one. The plastic ones are a little shallower and a slightly different shape. Who knew? I can't find anything in my manual specifying the type of bobbin one should be using so I had just grabbed an empty one from my sewing kit. Maybe it was empty for a reason.
I've also learned that there isn't really a proper quarter inch foot for my machine, which is a bit of a bummer. I've heard they're quite helpful at ensuring a quarter inch seam, which is the be all and end all in quilting or so I'm told. I can appreciate that accuracy is tantamount when matching seams and points. Fortunately, I chose a pattern that doesn't require any serious matching so I can afford a little inaccuracy. Still, I want to try a project with matching seams sometime soon so I might as well work toward accuracy.

Anyway, machine problems were resolved by noon and by 1:00 I had chain pieced two whole rows! Ten to go! I've never chain pieced before and I must say I like it! I think my seams are quite good. I used the
chain piecing tutorial so kindly provided by
Rachel Hauser who blogs about quilting at
Stiched in Color. It's one of a series of tutorials she prepared for quilting beginners and they're very good, I think. The series is included with a
Beginner Quilt-A-Long for a brick style quilt pattern that is very nice ... one I might try with some of my leftover rectangles and other scraps. It's very much like the one I'm making except that the rows are off set.

I very bravely didn't use any pins. I'm only sewing 4.5 inch lengths so I didn't feel the extra fuss was necessary. I think I did just fine without pins! I'll need them for the longer sashing that will separate the rows so I haven't given up entirely on them, Mom.
And now ... back to chain piecing!


